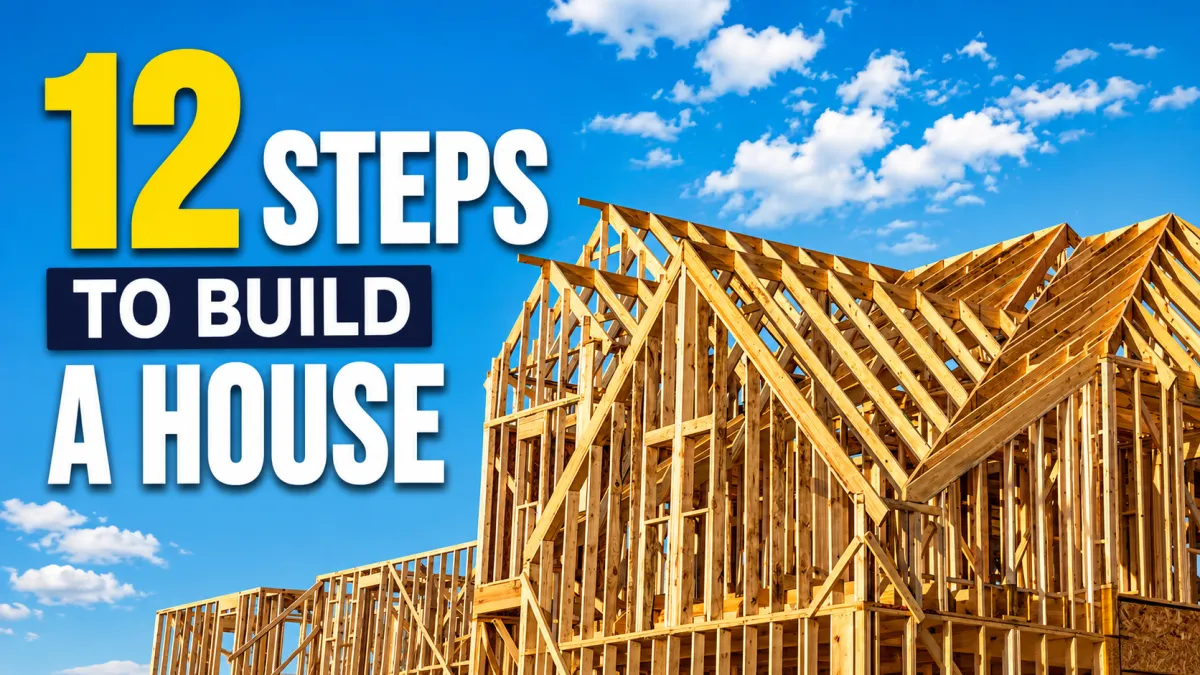
The 12-Step Blueprint to Build Your First House.
There are a hundred ways to make a mistake building a house. There is exactly one way to build it right. I've said that in front of a live audience more times than I can count, and it's still the truest thing I know about this business. By the way I highly recommend you watch this webinar. It will save us so much money and time. I don't know why a lot of first-time builders think about house building as rocket science. It's quite a predictable process and if you follow this process, everything will be fine, but if you decide to be too creative, you will pay for it from your pocket.
Building a house is a sequence, not a checklist
Here's the picture I use to open every one of these sessions.

That last part is the one people don't believe until it costs them money. You cannot un-pour a foundation. You cannot un-commit to a lot. Every phase you enter, you're in until it's finished. Which is exactly why the whole first half of this list is about solving problems on paper — where a mistake costs you an hour in a spreadsheet — before you get anywhere near a shovel, where the same mistake costs you five figures.
Let's go through all twelve.
Phase 1: The Groundwork (Steps 1–4)
Step 1: Understand what you're actually building
Before you price anything, before you talk to a single contractor, you need to know which of three houses you're building — because each one runs on a completely different set of rules.

This decision sets every material choice, every timeline, and every contractor conversation you'll have for the next year. Get it wrong and you'll spend the whole project fighting your own budget.
If you prefer to watch video, here is the video where are explaining in 10 minutes the whole process.
Step 2: Build your pre-construction team
You are the entrepreneur at the center of this. But three people orbit around you before anyone breaks ground: a Project Manager or GC to orchestrate the daily chaos and hold contractors accountable, an Architect to turn your vision into a buildable, code-compliant layout, and a Structural Engineer to make sure the thing doesn't collapse.
That third one is not optional, and here's why I say that so bluntly. My partner once tried to install drywall himself to save money and ended up with a staple gun to the head. DIY and hiring a licensed pro carry completely different risk profiles. Save money on paint colors. Do not save money on structural or mechanical work.
Step 3: Run the financial ROI before you buy anything
Set your total maximum budget before you buy land. It's one calculation: Cost of Land + Site Prep + Build Cost + Design Fees + Permits, checked against what similar homes are actually selling for in that market.

I go much deeper on how to actually run this math — including the real cash you need in hand before a construction loan pays for anything — in the real cost to build a house. Read that before you make an offer on anything.
Step 4: Site analysis and acquisition
This is where the paper mistakes turn into ground truth. Four things I check on every lot before I let a client or a partner get anywhere near closing:
Soil type — soft dirt versus solid rock, like the limestone shelf under a lot of Texas land, dictates your entire foundation design. Get a soil report, every time.
Utilities — no sewer district means you're building a full septic system. Apply for water and power connections on day one, not month three.
Title — never purchase without a title company verifying legal ownership. This isn't a step you skip to save a fee.
Flood zones — check them carefully. They don't just add risk, they drastically increase your insurance requirements for the life of the house.
I call this "entering the water" for a reason — once you close on the land, you're in the project. You can't quietly climb back out and stay dry. If you want the full five-number gut check I run on a lot before an offer goes in, I walk through a real Texas deal in buying land to build a house.
Phase 2: The Paperwork (Steps 5–6)
Step 5: The design suite
A real design package isn't one drawing. It's four stacked layers, and missing any one of them is how projects stall out with the bank or the city.

Step 6: Navigating permits and inspectors
Permitting can take anywhere from 2 to 18 months depending entirely on your local bureaucracy, and there are three factors that reliably blow up that timeline: flood zones, steep slopes, and protected wildlife or trees.
That last one sounds small until it isn't. We were delayed six months on a $5 million build in Austin simply because it landed in protected bird nesting season. You cannot out-negotiate nature, and no amount of expediting fixes a nesting pair of birds. Hire a permit expediter — someone whose whole job is translating inter-departmental comments into things you can actually act on. I go step by step through the actual permit process, the review loop, and the traps that eat months, in the first-time builder's guide to building permits.

Phase 3: The Core Build (Steps 7–10)
Step 7: Clear, mark, and protect — before you dig
Four things happen before a single shovel goes in the ground: GPS boundaries get professionally mapped (building an inch into a neighbor's lot is a legal nightmare you don't want), a gravel driveway goes in to keep heavy machinery from dragging mud onto the street, silt fencing goes up to control erosion and keep the site secure, and Builder's Risk insurance gets purchased immediately — because if a trespasser gets hurt on your empty lot, you are fully liable.
Step 8: The foundation — the point of no return
Trenching, forming, and rough plumbing happen here, and then concrete gets poured in a single, massive one-day push. Once it sets, it cannot be moved.

Step 9: Framing the skeleton
Wood framing is the standard — easier to source experienced crews, cheaper, and it's what most trades expect to see. Steel framing buys you extreme stability and lets you do massive windows and cantilevers without center columns, but it demands highly specialized crews and a bigger budget.
Either way, respect what I call the domino effect: the frame dictates everything downstream. A one-inch misalignment here means custom doors, windows, and roofing will fail to fit later. Demand master framers with ten-plus years of experience — this is not the phase to hire the cheapest bid.
Step 10: The mechanicals — the big-to-small rule
You cannot schedule mechanical trades randomly. The sequence is dictated by physical volume, and I promise you it always plays out the same way:

Flip that order and you'll be paying someone to rip out and reroute work that was installed correctly the first time, just in the wrong sequence.
Phase 4: The Finishes (Steps 11–12)
Step 11: Insulation and interior finishes
This is the phase where exterior finishes, spray foam insulation, windows, and doors go in to make the house weather-tight — inspectors actually require windows and doors in place before they'll pass the frame. Flooring, cabinets, and heavy fixtures get finalized here too, and this single phase consumes 30 to 40% of your total budget. It's the biggest line item in the entire build, bigger than the frame, bigger than the foundation.
One sequencing rule I'd hammer on above almost anything else in this phase: wait to finalize the exterior driveway and interior drywall until all heavy equipment and dirty work are completely done. Do it early and you're paying to fix damage you caused yourself.
Step 12: Finalize, stage, and sell
The final checklist before you hand over keys:
Switch insurance — convert your Builder's Risk policy to standard Homeowner's coverage.
Sign lien waivers — get every contractor to sign a waiver proving they were paid in full. Skip this and a contractor can put a lien on your finished house months later.
Bank sign-off — complete final inspections for loan conversion and get your Certificate of Occupancy.
Stage the home — don't sell empty rooms. Staging measurably increases final sale price, especially in the $1M+ market. We use it on nearly every house we sell.
If financing was part of your path to this point, and it's giving you trouble, that's worth solving early rather than at the finish line — I cover the real reasons banks reject first-time builders, and the four ways around it, in why first-time builders can't get a construction loan.
The three principles underneath all twelve steps
If you forget every individual step, keep these three.

If you want to go deeper into this topic, you can watch the full webinar that I recorded? Our Building Your Home program has more than 200 lessons covering every one of these twelve steps in depth, pre-built templates for the ROI calculation, the lien waivers, and the inspection tracking spreadsheet I mentioned in the video, plus live coaching calls with me and my partner. Join the program here and get your questions answered before you break ground, not after.
Your turn: which of these twelve steps is the one you're stuck on right now — the lot, the permits, or the budget? Drop it in the comments. I read every one.
Dmytro Bondar has spent 20+ years building educational companies, the last ten working with spec and custom home builders in Austin, Texas - on their projects, marketing, and production. He runs HouseBuilderPro, a YouTube channel and training program that teaches first-time and spec builders how to build a house from A to Z without losing money, with step-by-step guidance, coaching calls, and live on-site building events in Austin.
Questions about your specific project? Drop them in the comments - I respond to every one.


